Add a plugin to your ezyplatform
Updated at 1706862311000After that, you can search for the plugins you want through one of the following menus:
- Plugins > Web.
- Plugins > Socket.
- Plugins > Admin.
- Themes.
- Socket Apps.
Then, click the Add New button, and you will see the interface as follows:
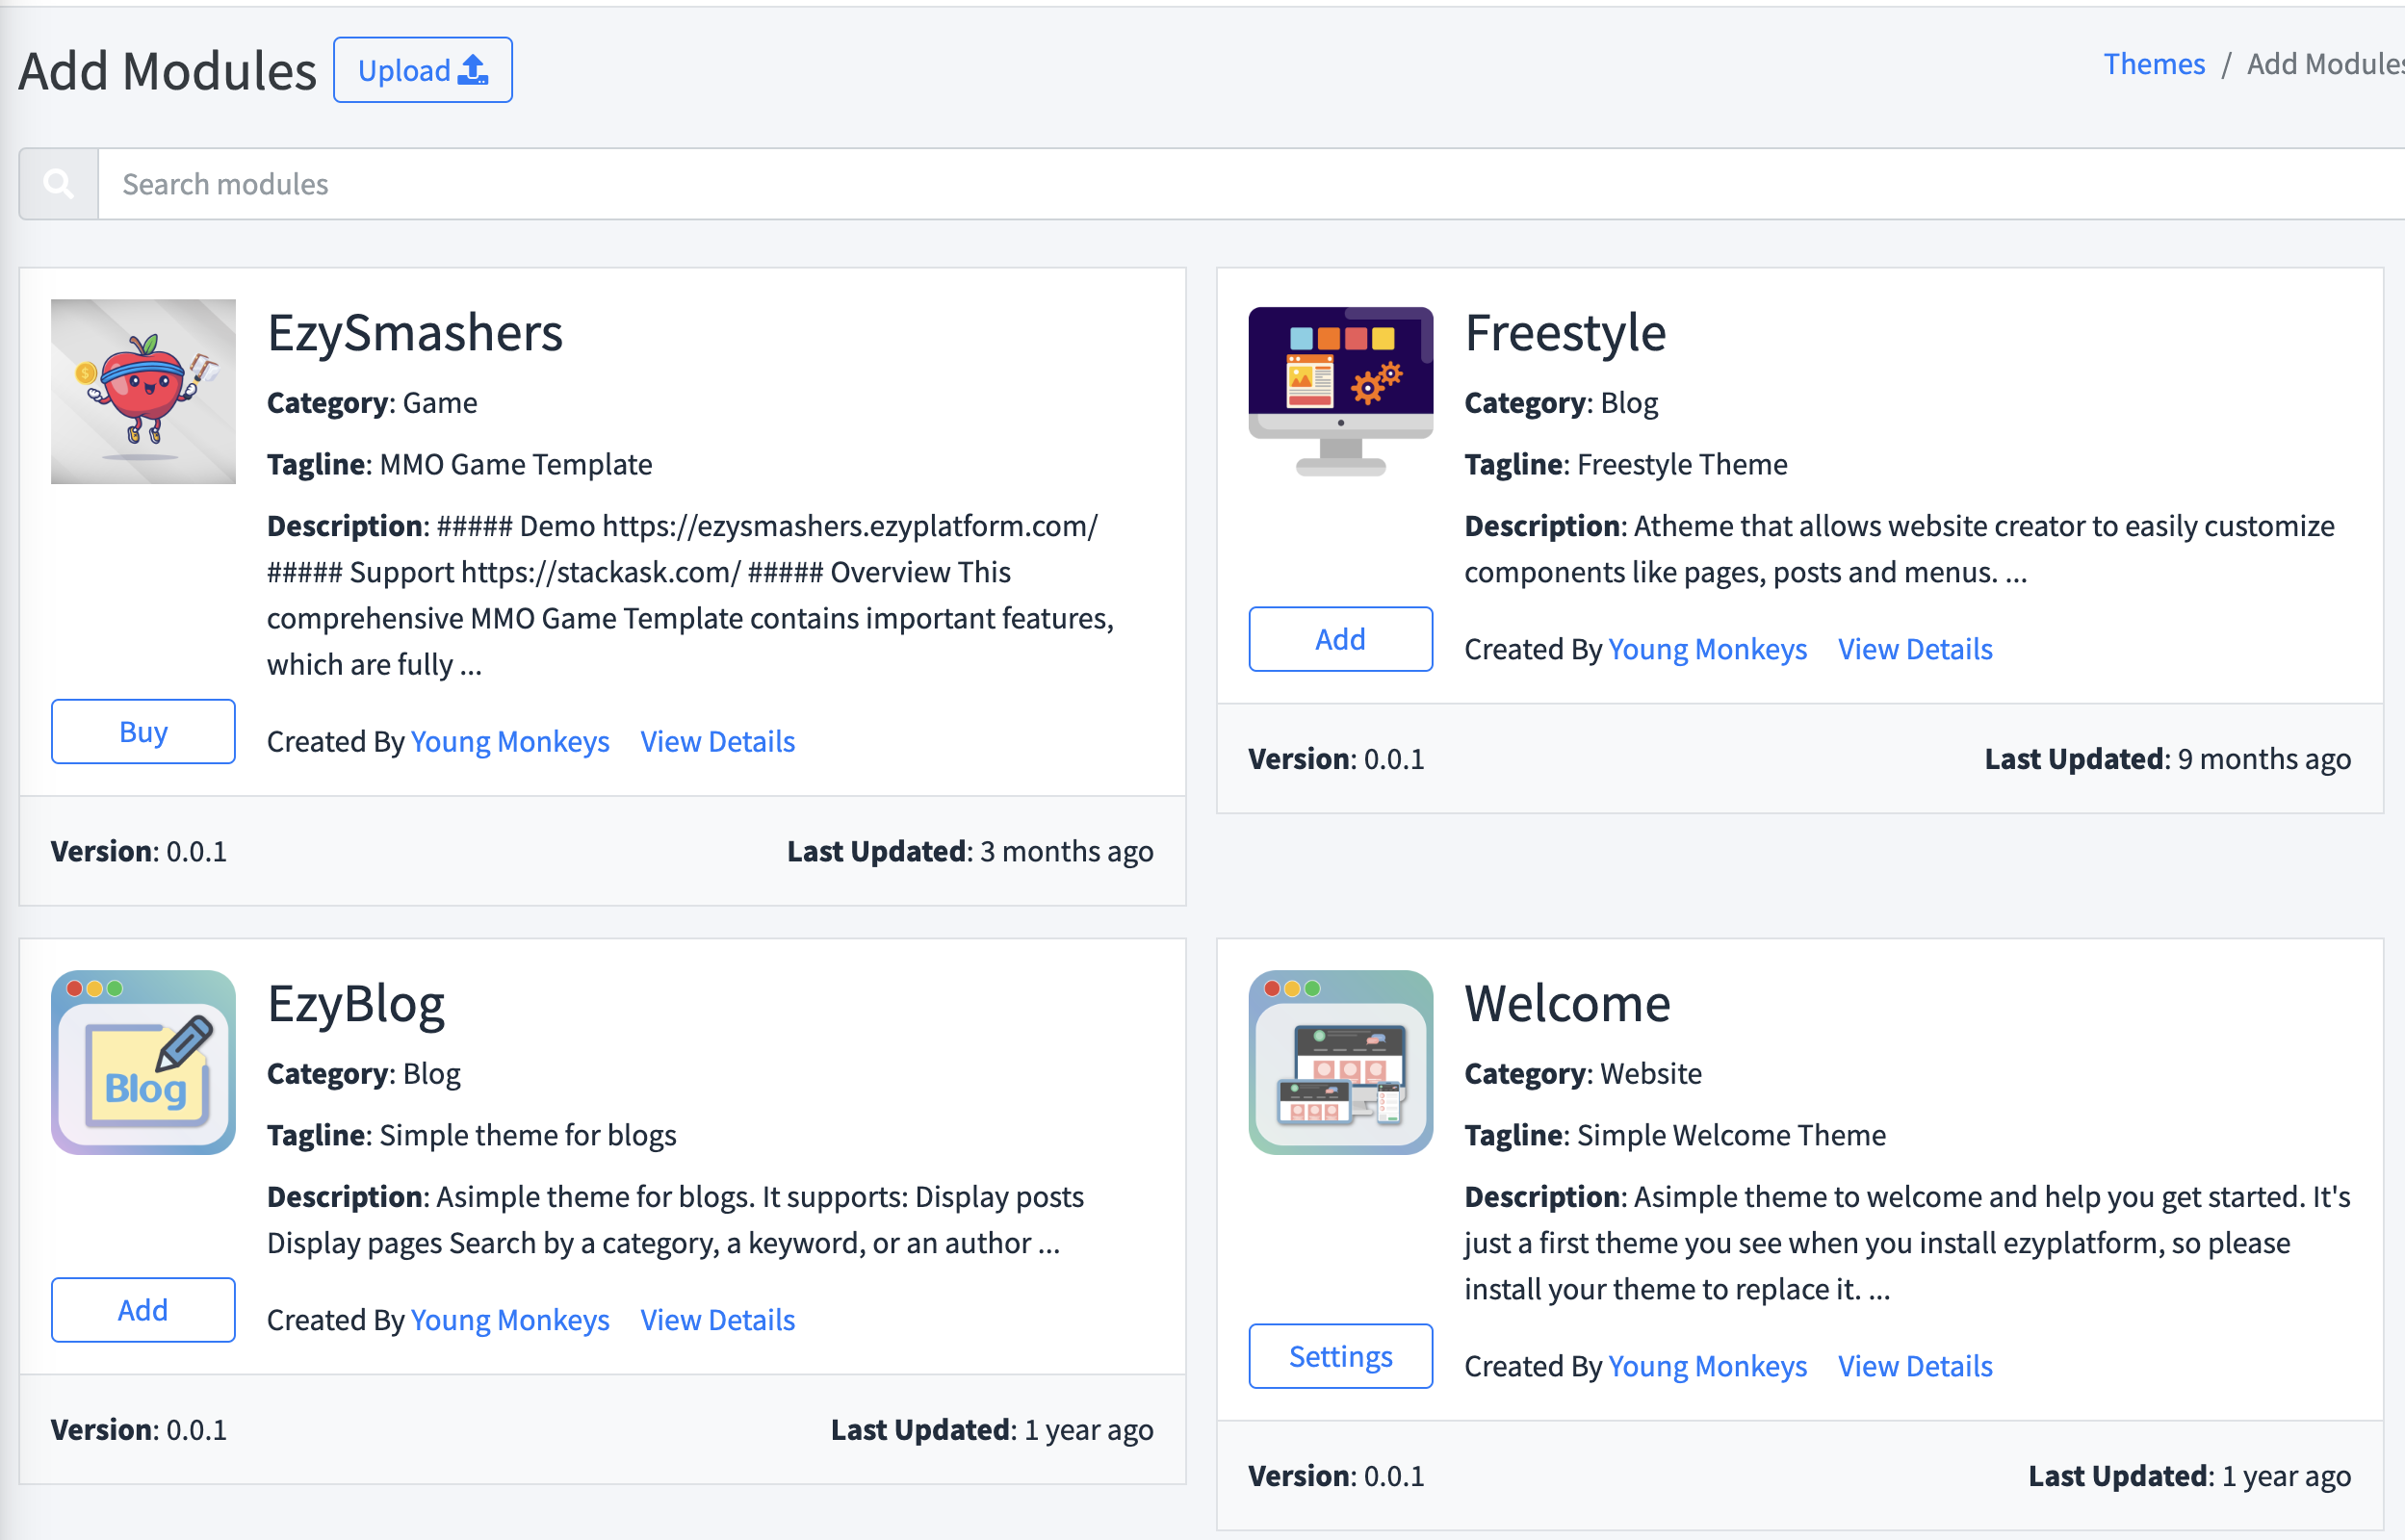
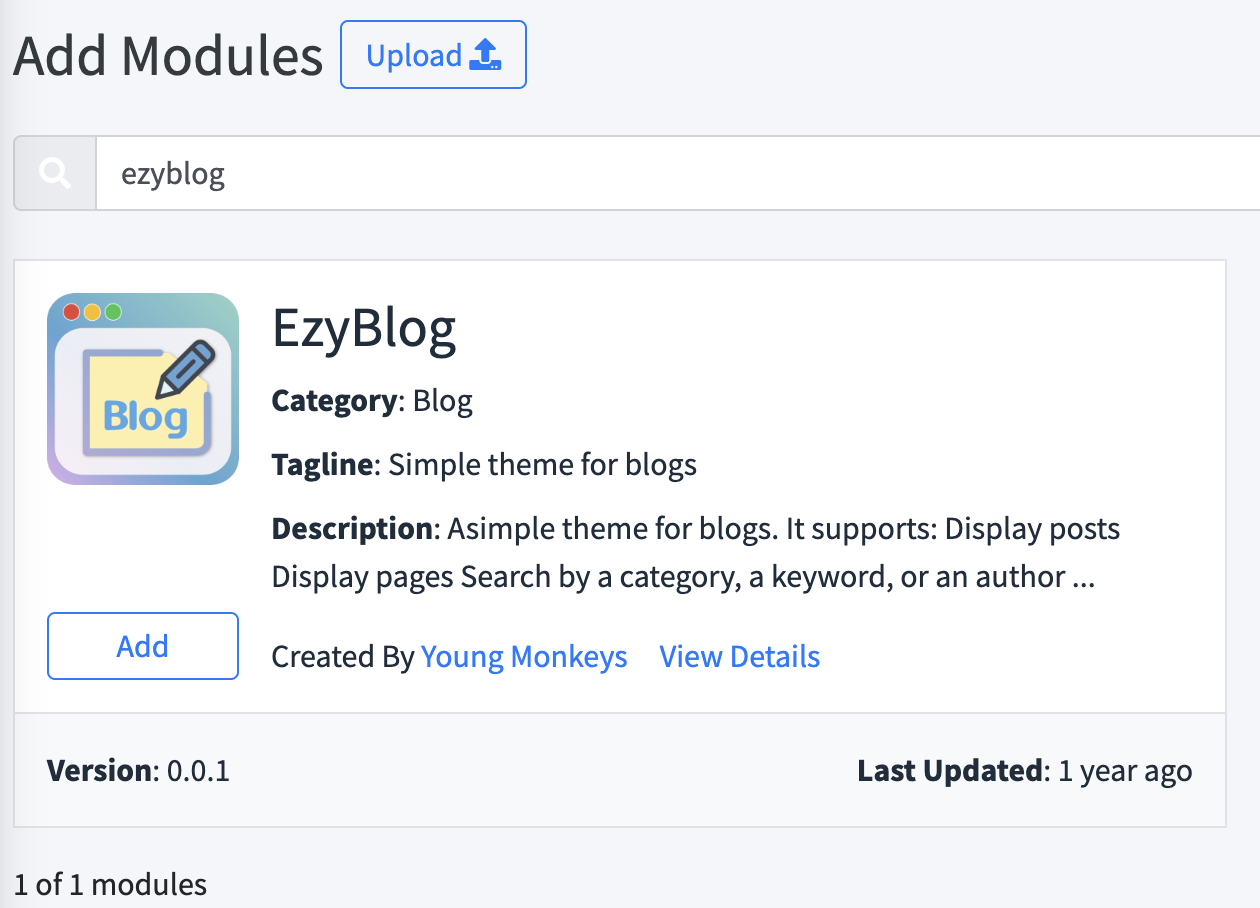
You can search for the desired plugin, for example, ezyblog, and you will get results like this:
When you click the Add button to add this plugin to your EzyPlatform, the result will look like this:
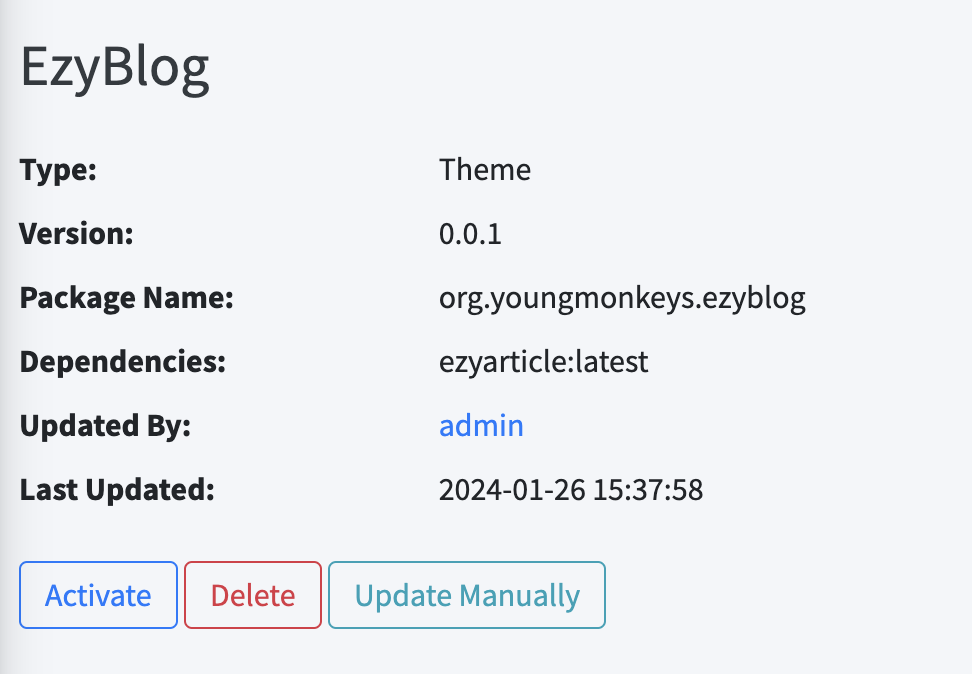
On the screen, you will see information about the plugin, and you will have the following options:
- Active: To activate the plugin.
- Delete: To remove the plugin from EzyPlatform.
- Update manually: Allows you to update the plugin from your local machine without going through the market.
Let's say you choose to press the Active button, a popup will appear like this:

On the screen, there are checkboxes and two buttons:
- Checkboxes allow you to choose whether to apply the types of plugins to EzyPlatform. If you don't select them, they will be skipped.
- The
Activebutton allows you to apply this plugin but will not restart the server, and the plugin will not be applied immediately. With Windows, you will be required to choose this and manually restart. - The
Active & Restartbutton allows you to apply this plugin immediately, and the server will restart automatically. This option is only available on Linux when running EzyPlatform in the background. If you are running in console mode, turn off the console and run it again.
Let's say you choose to press the Active button, you will see a popup like this:
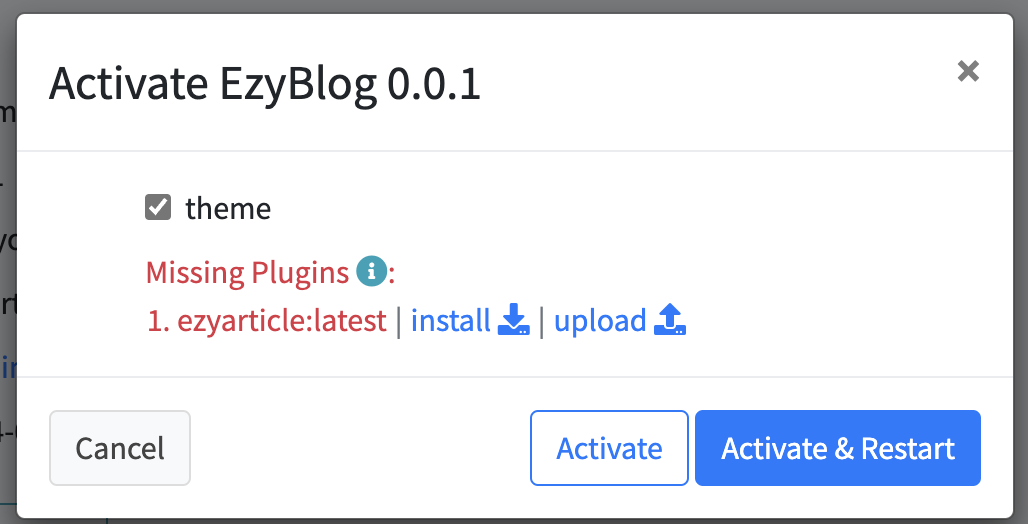
Since this plugin depends on the EzyArticle plugin, you will need to press the install button or choose upload from local. Suppose you choose install, the plugin will be installed and displayed like this:

Click the Active button to activate it, then go back to activate EzyBlog. Since I am running in the background, I will choose Active & Restart for EzyBlog and wait for EzyPlatform to restart.
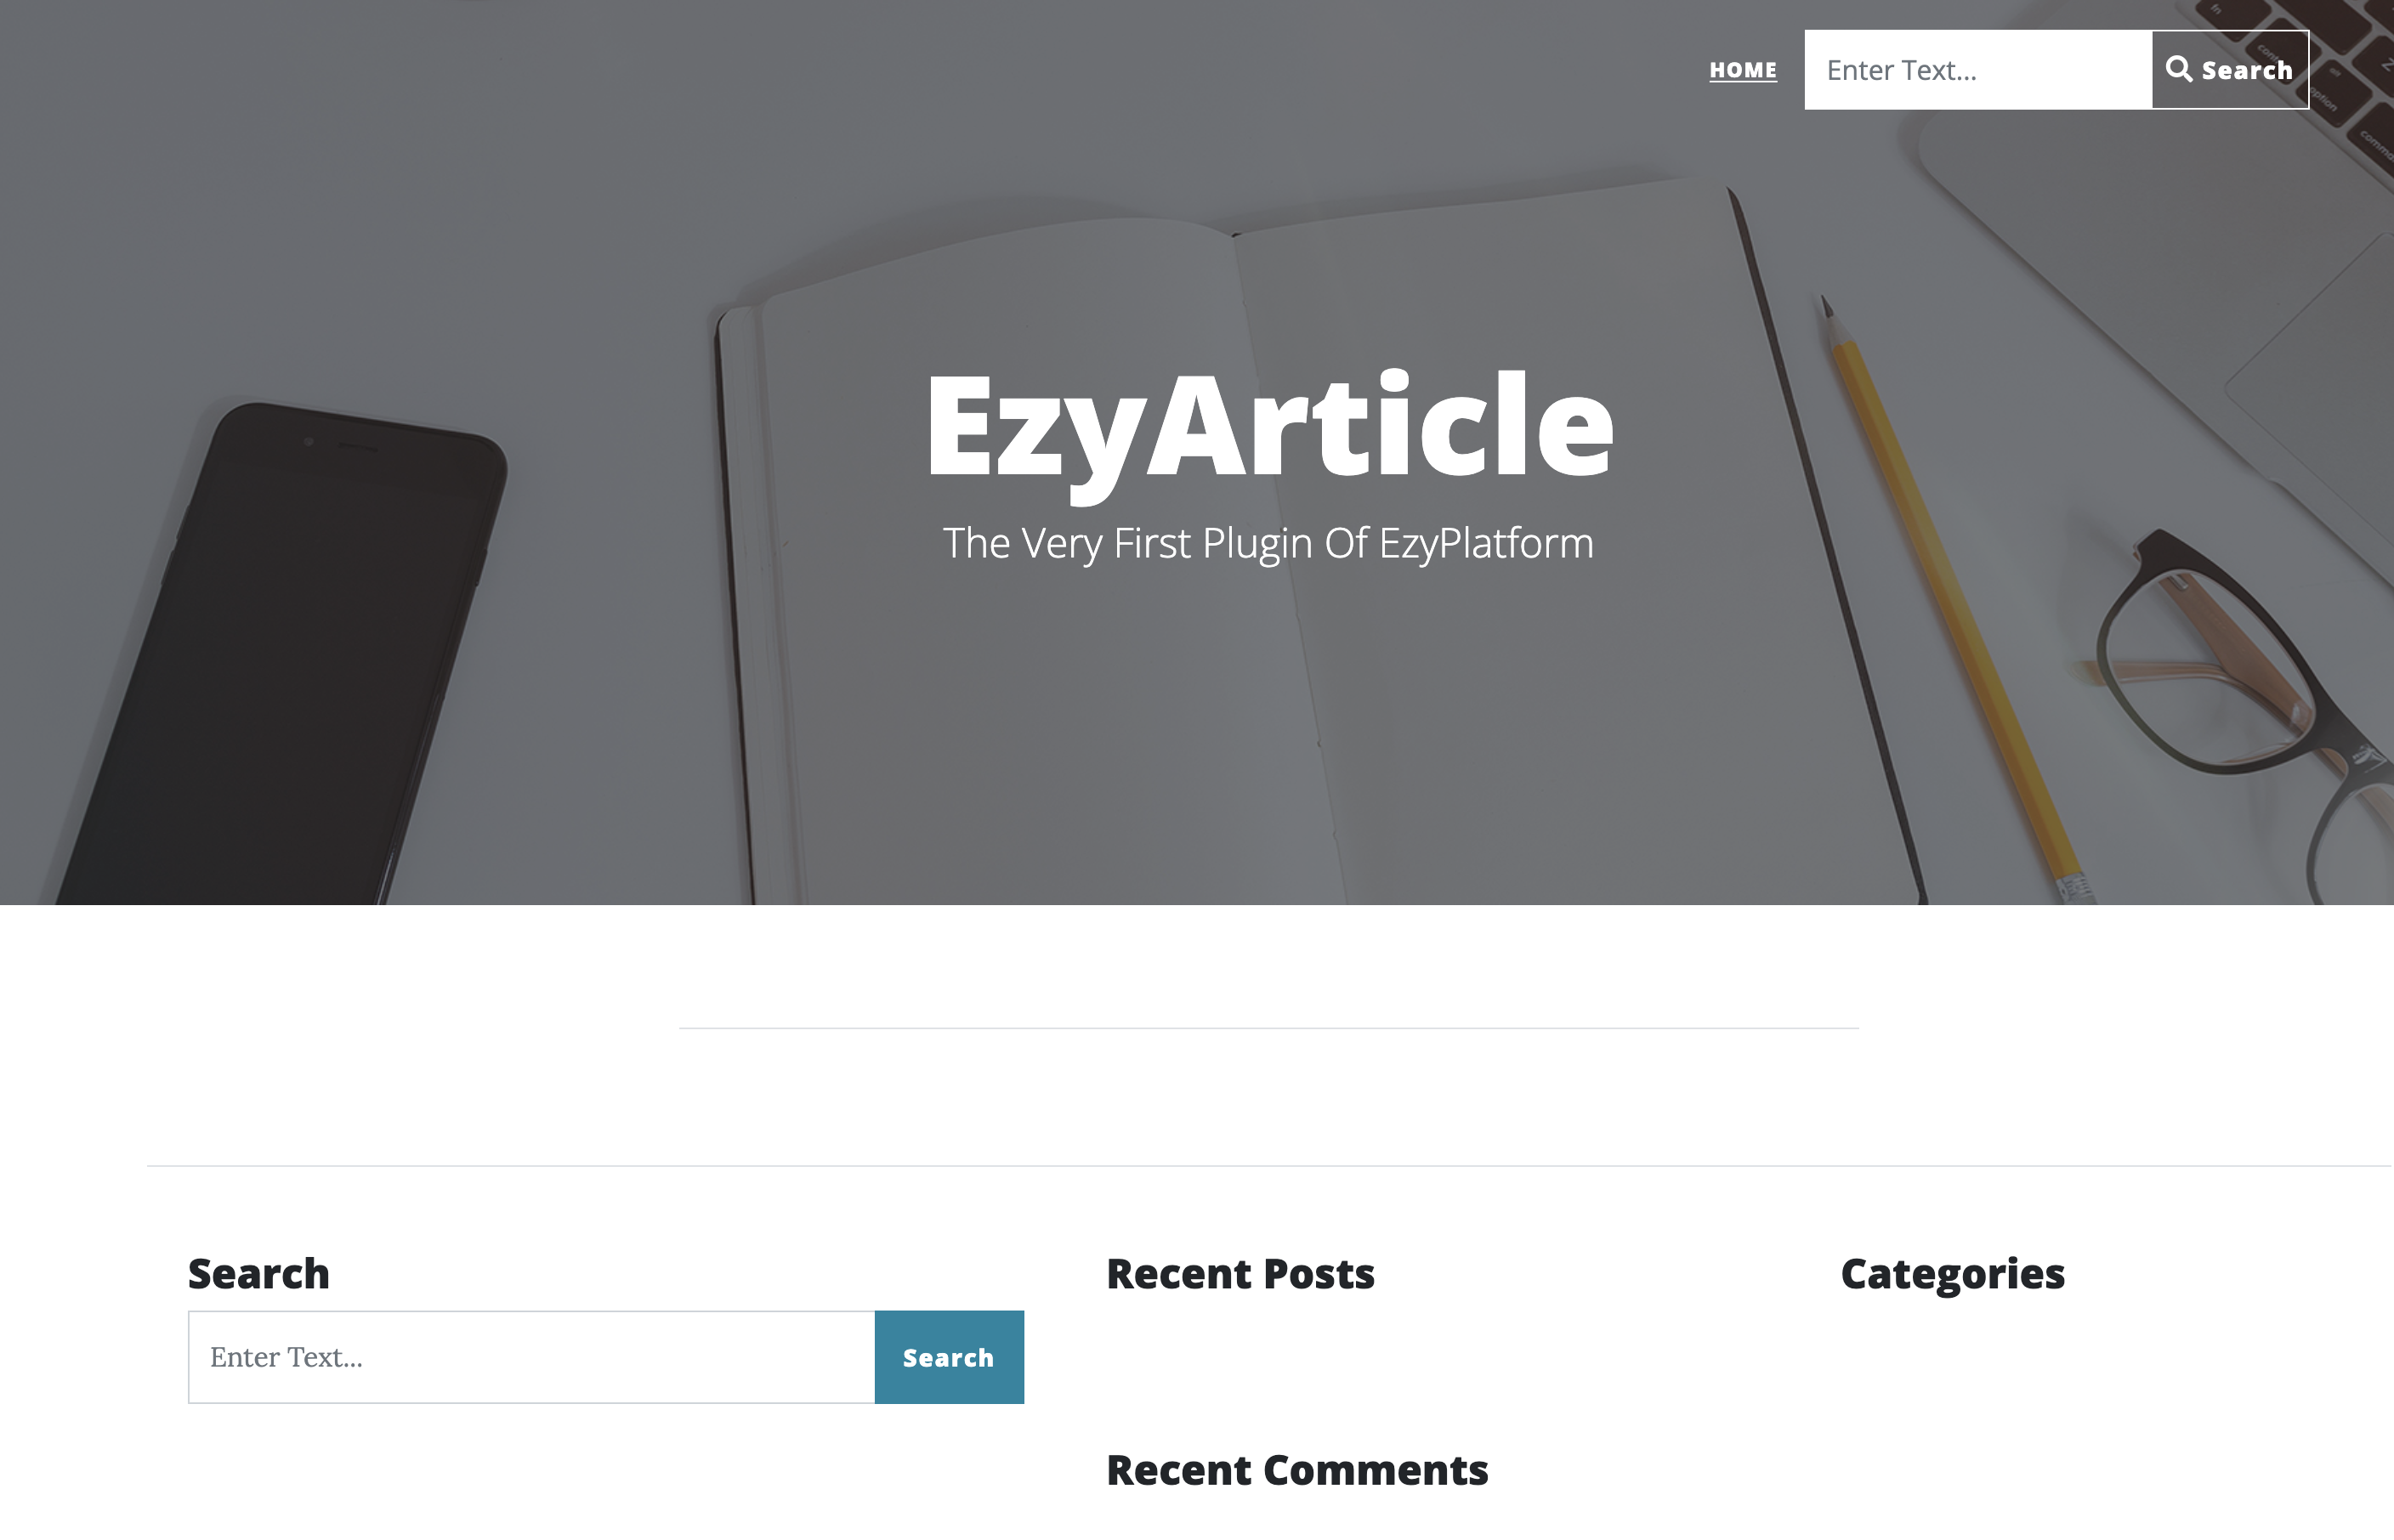
Because I haven't started the web, I will select the menu Dashboard > Web and click on restart. Wait for a while for the web to start, then I will access the web address, for example: http://localhost:8080. I will see the interface created by the EzyBlog theme as follows:
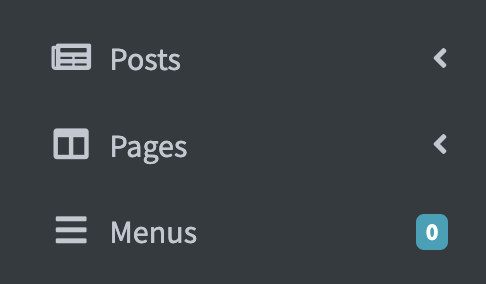
Also, on the admin interface, I will see new menus appearing:
Congratulations, you have successfully added 2 plugins, EzyBlog and EzyArticle, to your EzyPlatform!
Next step you can take a look setup a website.