Send notification and letter
Updated at 1695790636000Overview
EzyPlatform allows sending notifications and letters between users, users and admins, and admins and admins.
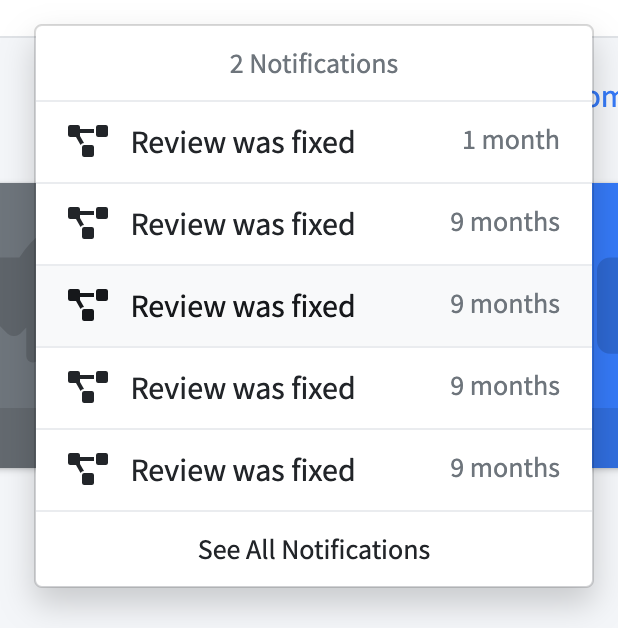
Example of a notification that an admin receives:
Example of a letter that an admin receives:

You can set up notifications and letters as follows.
Installation Steps
The installation process is not simple as both notifications and letters have many attributes. Moreover, there may be a relationship between notifications and letters, where clicking on a notification opens the corresponding letter. The installation steps include:
- Creating templates.
- Storing templates in the database.
- Creating a service class.
- Creating HTML for the web.
- Using the service.
Creating Templates
You can create a file in the classpath, for example,
notification-templates/answer-your-question.properties.title=Answer your question content= has just answered your question.
And
letter-templates/answer-your-question.properties.
title=Answer your question
content= has just answered your question: <a href=""></a>
Storing Templates in the Database
You can create a config class to load templates and store them in the database if the templates do not exist. The following example is for notification templates:
@Setter
@EzyConfigurationAfter
public class AdminStackAskNotificationConfig implements EzyBeanConfig {

    @EzyAutoBind
    private AdminContentTemplateService contentTemplateService;

    @Override
    public void config() {
        addTemplate(NOTIFICATION_TEMPLATE_ANSWER);
        addTemplate(NOTIFICATION_TEMPLATE_REPLY);
        addTemplate(NOTIFICATION_TEMPLATE_VOTE_QUESTION);
        addTemplate(NOTIFICATION_TEMPLATE_VOTE_ANSWER);
        addTemplate(NOTIFICATION_TEMPLATE_CHOOSE_ANSWER_AS_THE_BEST);
    }

    private void addTemplate(String templateName) {
        String propertiesFilePath = "notification-templates/" +
            templateName + ".properties";
        contentTemplateService.addTemplateIfAbsentFromPropertiesFile(
            ContentTemplateType.NOTIFICATION.toString(),
            templateName,
            propertiesFilePath
        );
    }
}
And the following example is for letter templates:
@Setter
@EzyConfigurationAfter
public class AdminStackAskLetterConfig implements EzyBeanConfig {

    @EzyAutoBind
    private AdminContentTemplateService contentTemplateService;

    @Override
    public void config() {
        addTemplate(NOTIFICATION_TEMPLATE_ANSWER);
        addTemplate(NOTIFICATION_TEMPLATE_REPLY);
        addTemplate(NOTIFICATION_TEMPLATE_VOTE_QUESTION);
        addTemplate(NOTIFICATION_TEMPLATE_VOTE_ANSWER);
        addTemplate(NOTIFICATION_TEMPLATE_CHOOSE_ANSWER_AS_THE_BEST);
    }

    private void addTemplate(String templateName) {
        String propertiesFilePath = "letter-templates/" +
            templateName + ".properties";
        contentTemplateService.addTemplateIfAbsentFromPropertiesFile(
            ContentTemplateType.LETTER.toString(),
            templateName,
            propertiesFilePath
        );
    }
}
Creating a Service Class
This service class will provide methods to add corresponding notifications and letters for different use cases. In general, the methods will perform the following tasks:
- Create a letter.
- Create a notification: The notification must be created after the letter because the notification may contain a deep link to the letter.
- Create and store the notification receiver.
- Create and store the letter receiver.
Example 1, creating a notification with a deep link to a specific web page rather than a letter:
public class WebStackAskNotificationService {

    // Other autowired services

    public void addAnswerQuestionNotification(
        long answererId,
        long questionId,
        long answerId
    ) {
        // Business logic to set variables

        TitleContent letter = contentTemplateService.makeTitleContent(
            LETTER.toString(),
            LETTER_TEMPLATE_ANSWER,
            EzyMapBuilder.mapBuilder()
                .put("answerer", emptyIfNull(answerer.getDisplayName()))
                .put("answerLink", answerUrl)
                .toMap()
        );
        // Save letter in the database

        TitleContent notification = contentTemplateService.makeTitleContent(
            NOTIFICATION.toString(),
            NOTIFICATION_TEMPLATE_ANSWER,
            EzyMapBuilder.mapBuilder()
                .put("answerer", emptyIfNull(answerer.getDisplayName()))
                .toMap()
        );
        // Save notification in the database

        // Create and save notification receiver

        // Create and save letter receiver
    }
}
Example 2, creating a notification with a deep link to a letter:
public void addStudentCancelClassLessonNotification(
      long studentId,
      String studentName,
      long teacherId,
      String classCode,
      String className,
      long classLessonId,
      int classLessonIndex,
      String classLessonTitle,
      String cancelReasonOption,
      String cancelReason
  ) {
      TitleContent letter = letterTemplateService.makeLetter(
          TEMPLATE_STUDENT_CANCEL_CLASS_LESSON,
          EzyMapBuilder.mapBuilder()
              .put("studentName", studentName)
              .put("classCode", classCode)
              .put("className", className)
              .put("classLessonId", classLessonId)
              .put("classLessonIndex", classLessonIndex)
              .put("classLessonTitle", classLessonTitle)
              .put("cancelReasonOption", cancelReasonOption)
              .put("cancelReason", cancelReason)
              .toMap()
      );
      // Save letter in the database

      TitleContent notification = notificationTemplateService.makeNotification(
          TEMPLATE_STUDENT_CANCEL_CLASS_LESSON,
          EzyMapBuilder

.mapBuilder()
              .put("studentName", studentName)
              .put("classCode", classCode)
              .put("className", className)
              .put("classLessonId", classLessonId)
              .put("classLessonIndex", classLessonIndex)
              .put("classLessonTitle", classLessonTitle)
              .put("cancelReasonOption", cancelReasonOption)
              .put("cancelReason", cancelReason)
              .toMap()
      );
      // Save notification in the database

      String deepLink = "/account/inbox/" + letterId;
      // Create and save notification receiver

      // Create and save letter receiver
  }
Create APIs controller for the Web
By default, EzyPlatform does not provide APIs related to notifications and letters for the web. You will need to create controller classes to inherit from the classes that have been pre-created by EzyPlatform.
For notification
@Api
@Authenticated
@Controller("/api/v1")
public class ApiNotificationController extends WebApiNotificationController {

    public ApiNotificationController(
        WebNotificationService webNotificationService,
        WebNotificationControllerService webNotificationControllerService,
        WebCommonValidator webCommonValidator
    ) {
        super(
            webNotificationService,
            webNotificationControllerService,
            webCommonValidator
        );
    }
}
For letter
@Api
@Authenticated
@Controller("/api/v1")
public class ApiLetterController extends WebApiLetterController {

    public ApiLetterController(
        WebLetterService webLetterService,
        WebLetterControllerService webLetterControllerService,
        WebCommonValidator webCommonValidator
    ) {
        super(
            webLetterService,
            webLetterControllerService,
            webCommonValidator
        );
    }
}
Creating HTML for the Web
You can place notifications at the top of the web page like this:
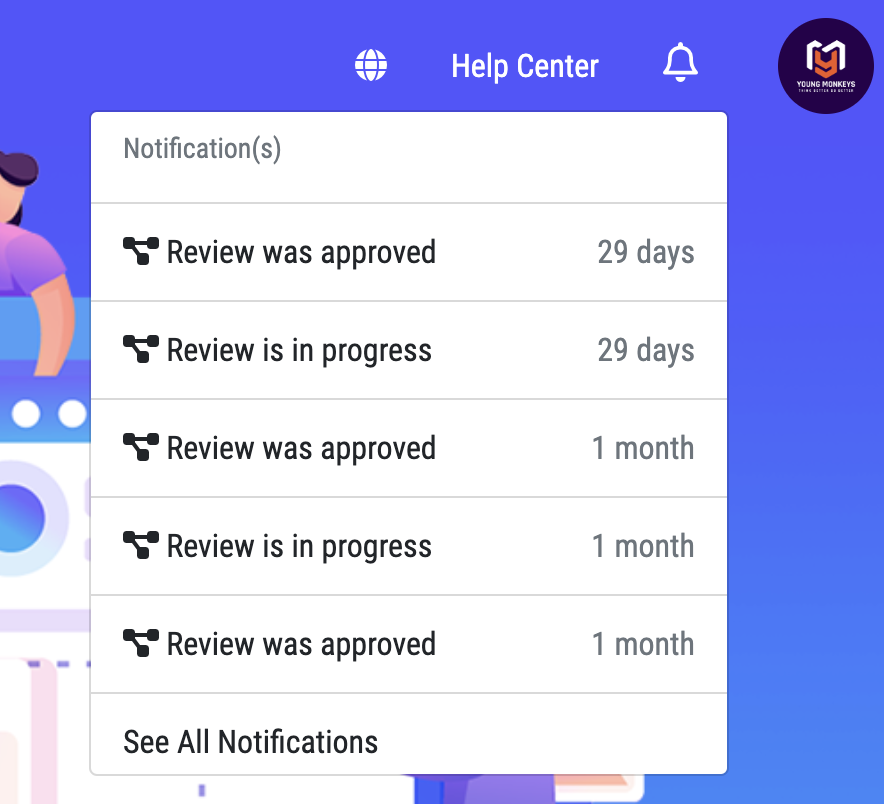
And the corresponding HTML code could be like this:
<div th:if="" class="d-flex align-items-center user-header">
  <div class="nav-item dropdown">
      <a class="nav-link cursor-pointer" data-bs-toggle="dropdown">
          <i class="far fa-bell text-white fs-5"></i>
          <span class="position-absolute translate-middle badge rounded-pill bg-warning notification-count d-none">0</span>
      </a>
      <div class="dropdown-menu dropdown-menu-lg">
          <span class="dropdown-item dropdown-header"><span class="notification-count">0</span> [[#{notification_s}]]</span>
          <div class="dropdown-divider" id="notificationHeaderDivider"></div>
          <a class="dropdown-item dropdown-footer cursor-pointer" onclick="readAllNotifications();">[[#{see_all_notifications}]]</a>
      </div>
  </div>
</div>
If you are using the ezyaccount plugin, you can add it to
page.html:<th:block th:if=""> <script th:replace="ezyaccount/notification :: scripts"></script> </th:block>
Usage
You can call the service in the controller after handling user actions, for example:
public class ApiUserQuestionController {

    private final WebStackAskNotificationService notificationService;

    @DoPost("/questions/{questionId}/answers/create")
    public CreatedIdResponse questionsQuestionIdAnswersCreatePost(
        @UserId long userId,
        @PathVariable long questionId,
        @RequestBody SaveAnswerRequest request
    ) {
        long answerId = answerControllerService.addAnswer(
            userId,
            questionId,
            request
        );
        notificationService.addAnswerQuestionNotification(
            userId,
            questionId,
            answerId
        );
        return new CreatedIdResponse(answerId);
    }
}
Please note that the code provided here is just an example and may require customization based on your specific application and use cases.